|
by Jim Short Jim is Artworks Gallery's accomplished and skilled woodturning artist. Here he shares his process and techniques for turning out a beautiful vase created from Monkey Puzzle wood. Recently a stranger came into the gallery and asked if anybody would be interested in monkey puzzle. I was. Here is what I did with one piece.  Monkey Puzzle has nasty spiked leaves and copious sticky sap, but the branches are on a circle around the trunk and turn up a nice contrasting red color. To highlight the circle of knots, the wood is turned with the pith or center of the tree running vertical. For a change I decided to make a vase.
 5. I don't have the patience for deep end grain hollowing so I cut the top off.
* The Finished Vase * 
0 Comments
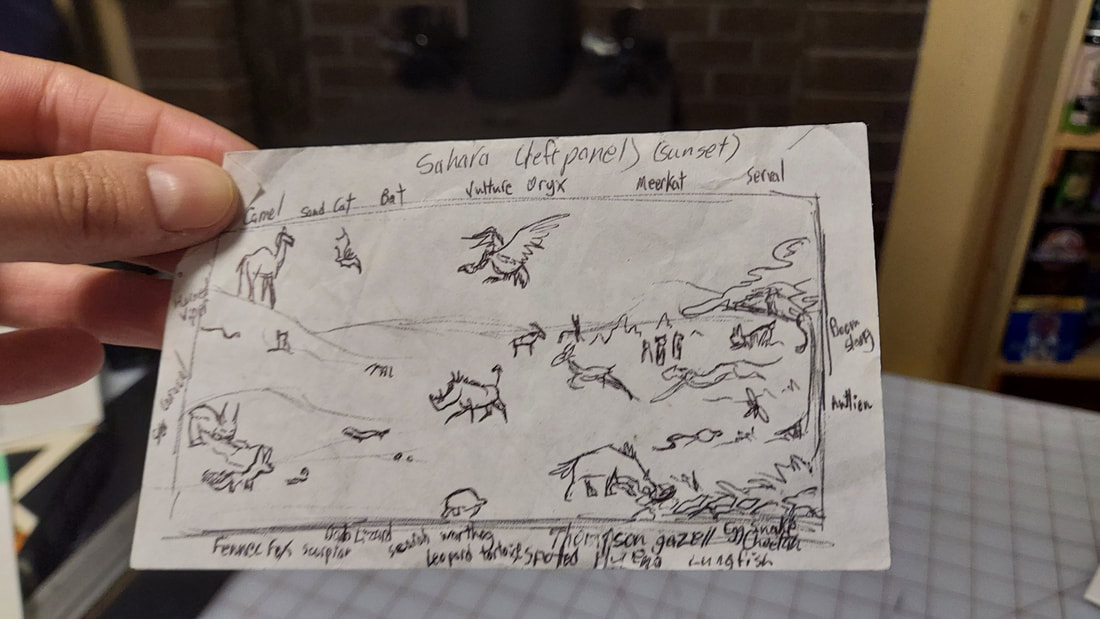
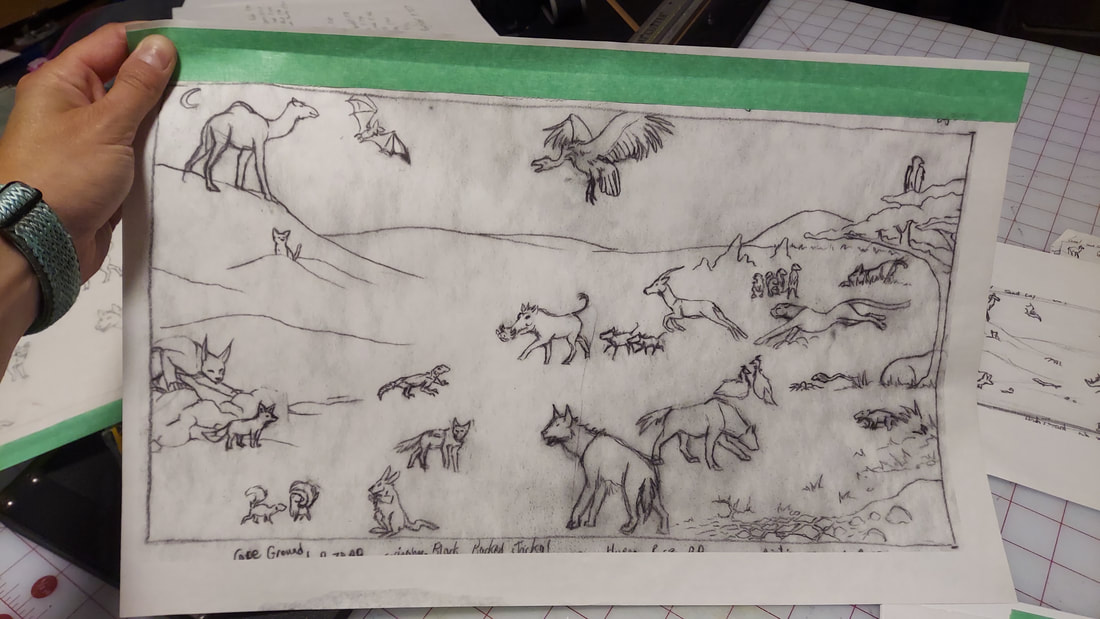
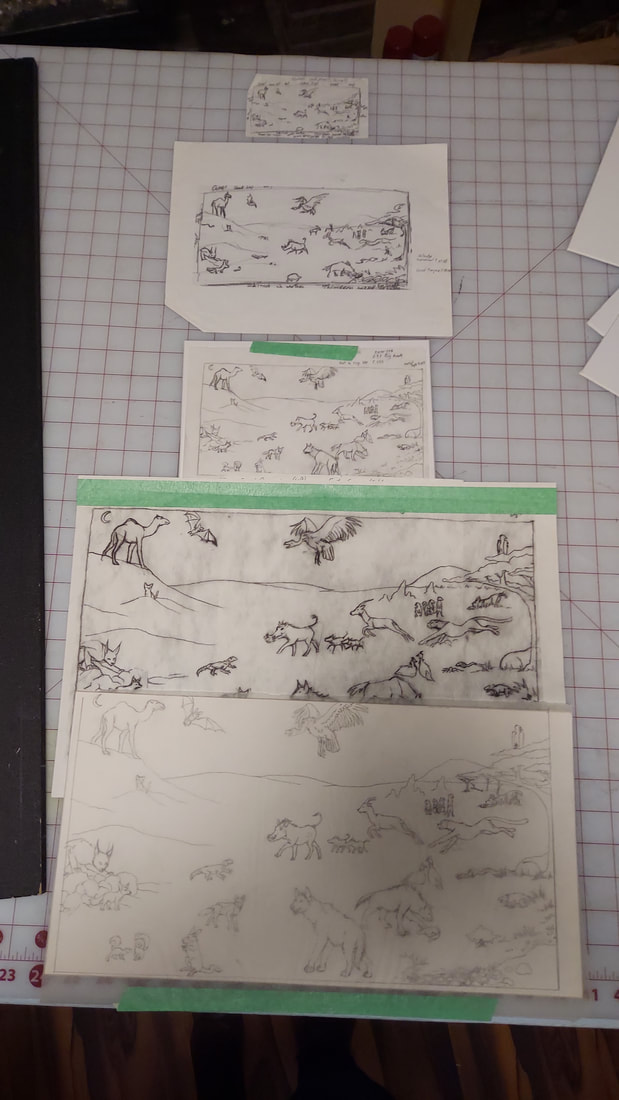
by Sarah Silverman-Pucci Sarah Silverman-Pucci is an “Artist and Illustrator of the Scientific and Fanciful.” Here she shares with us her process for creating her paintings of highly detailed flora and animated animals. For the ecosystem pieces Puget Sound, Arctic Circle, Amazon, and the 3 for Africa, I was commissioned to illustrate a children's book on ecosystems of the world and the animals that inhabit them. The book was not published, but I kept the art and have considered publishing it on my own. These are the steps for all 6 ecosystem pieces, but the photos specifically shown are for the "Sahara” (Desert) piece which is the left side of the Africa panorama. 
Step 3 I used tracing paper to refine the line art and anatomy of the animals. I also started adding more, relying heavily on my reference materials. In those days, I had several fabulous animal encyclopedias to utilize. This was long before Google and Wikipedia were common resources.
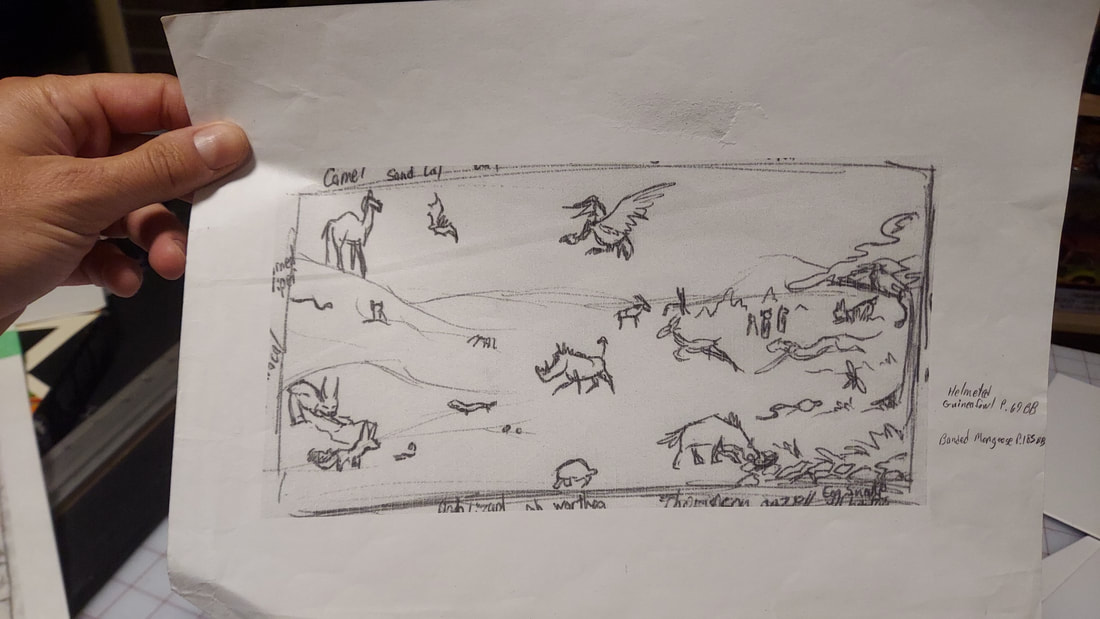
Step 4 I blew that image up to the final size of 8.5x15.5" (my printer at the time could print up to 13" wide so being able to print on 11x17" sheets of paper was very helpful for this process).
Step 6 I scanned the last image in and printed it in sepia tone, doing adjustments. Then I was able to print directly onto the watercolor paper with oil/dye-based inks and paint directly onto the line art. 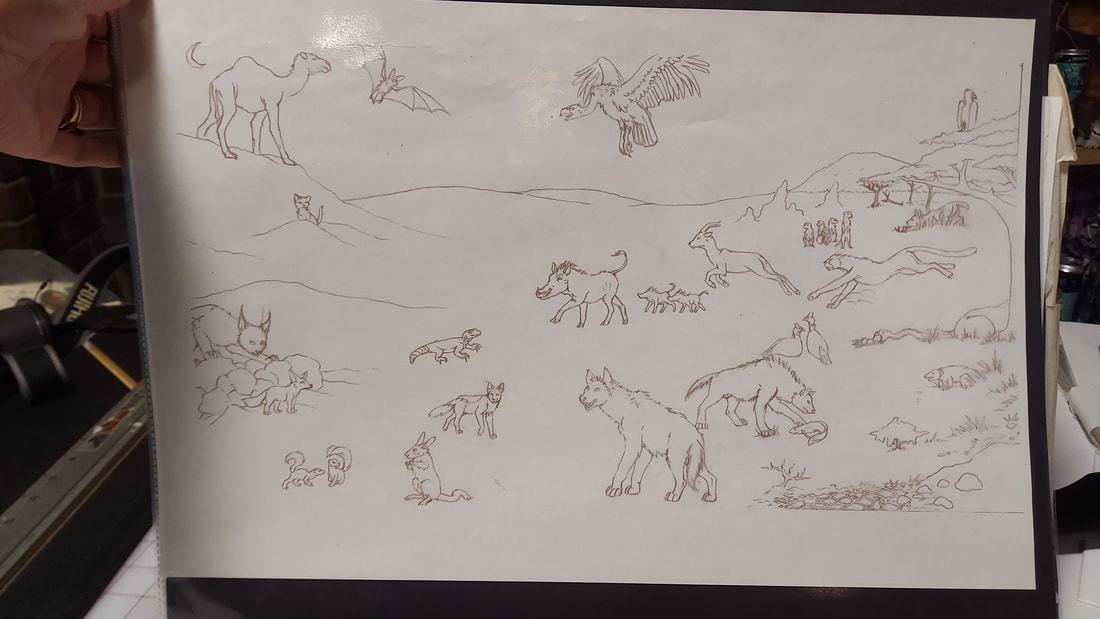
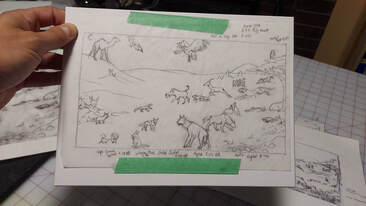
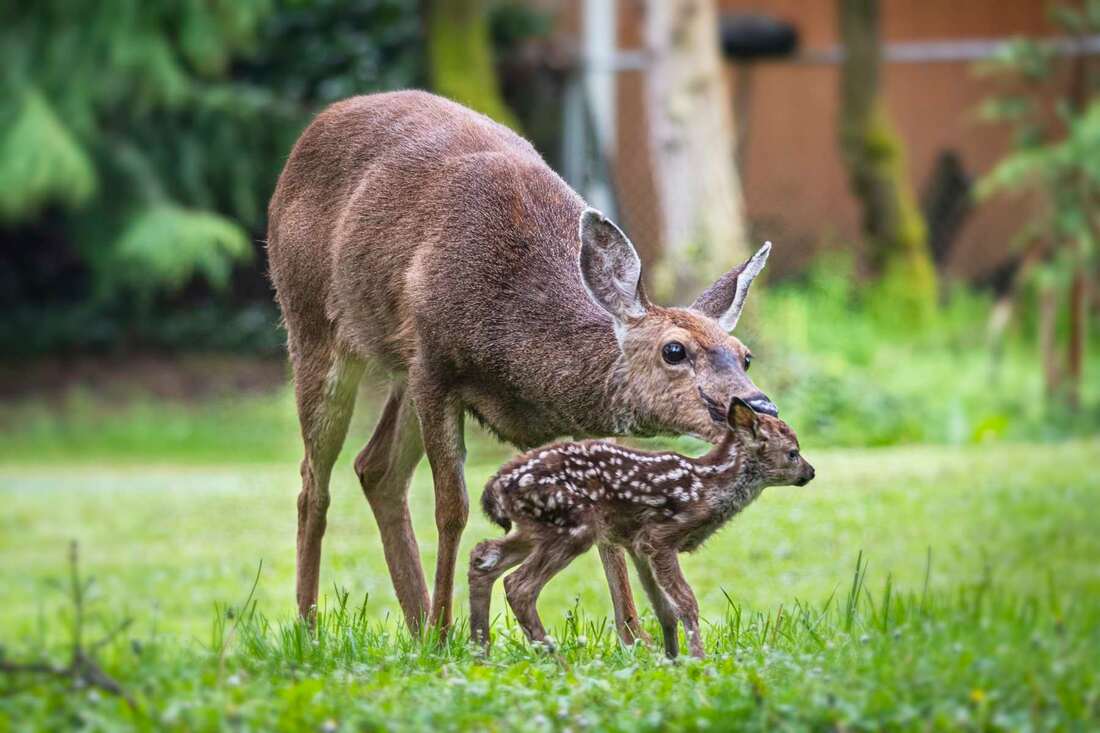
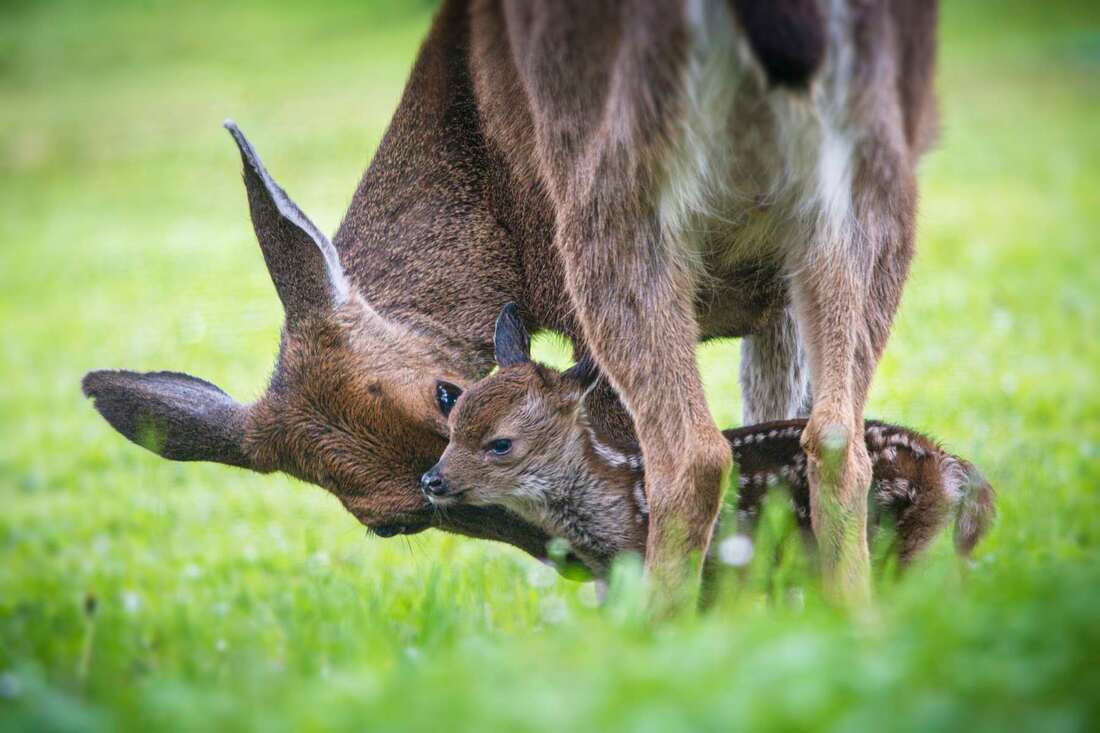
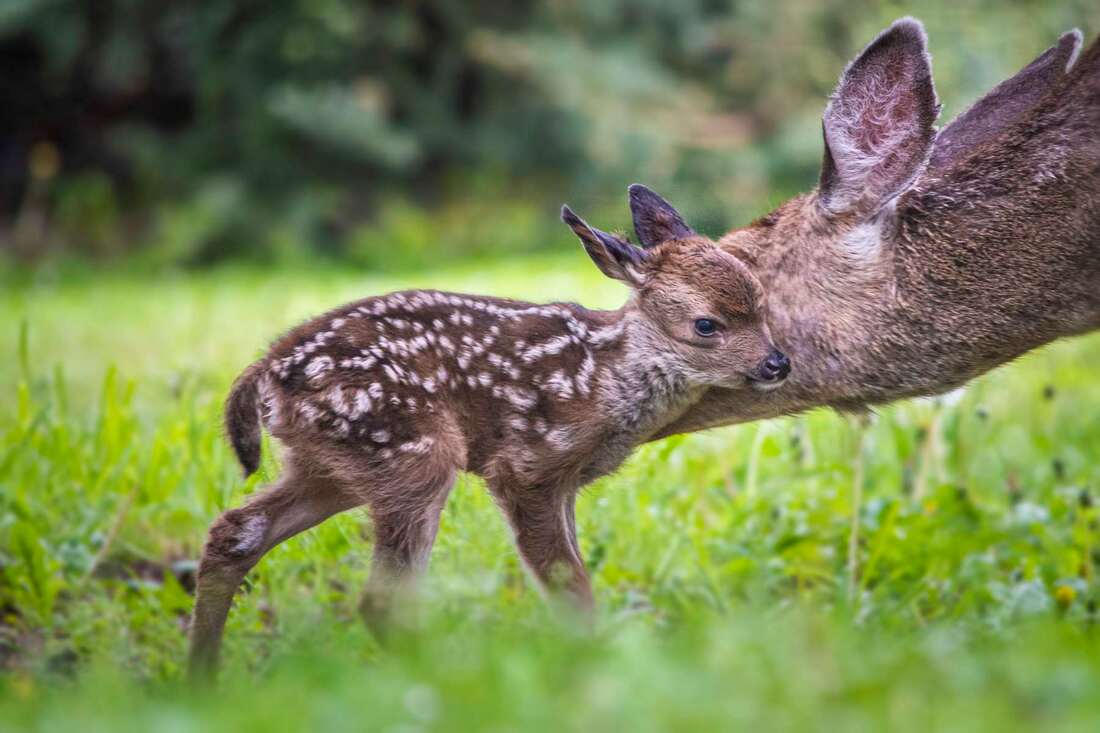
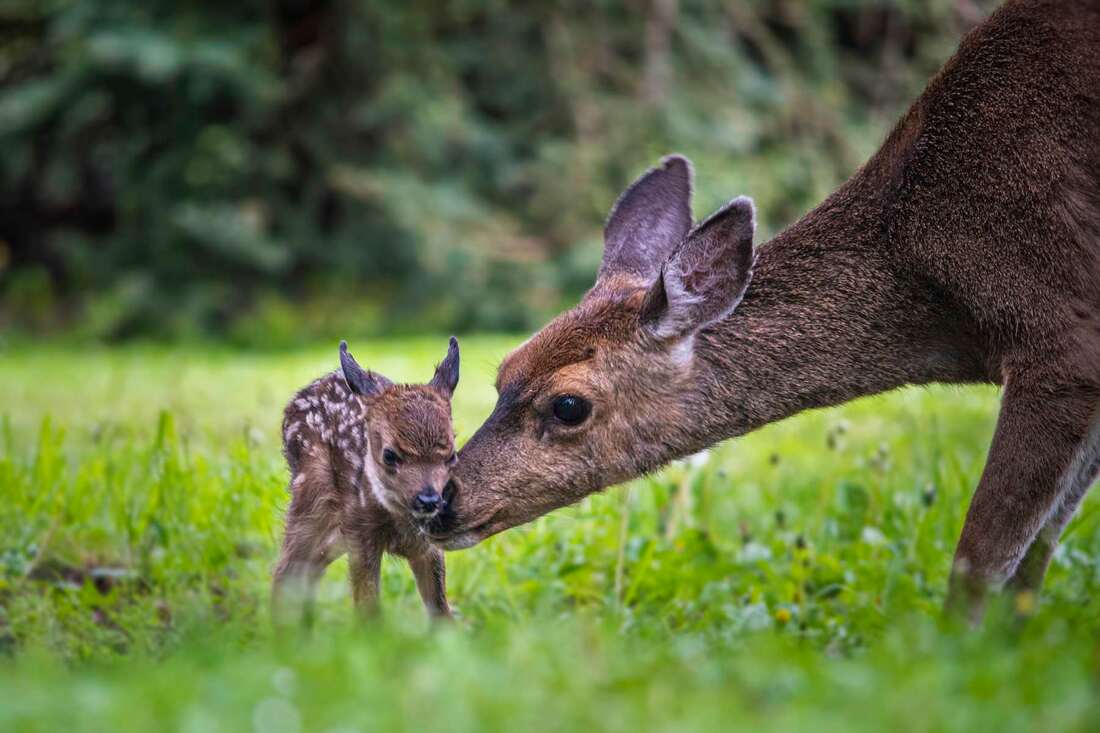
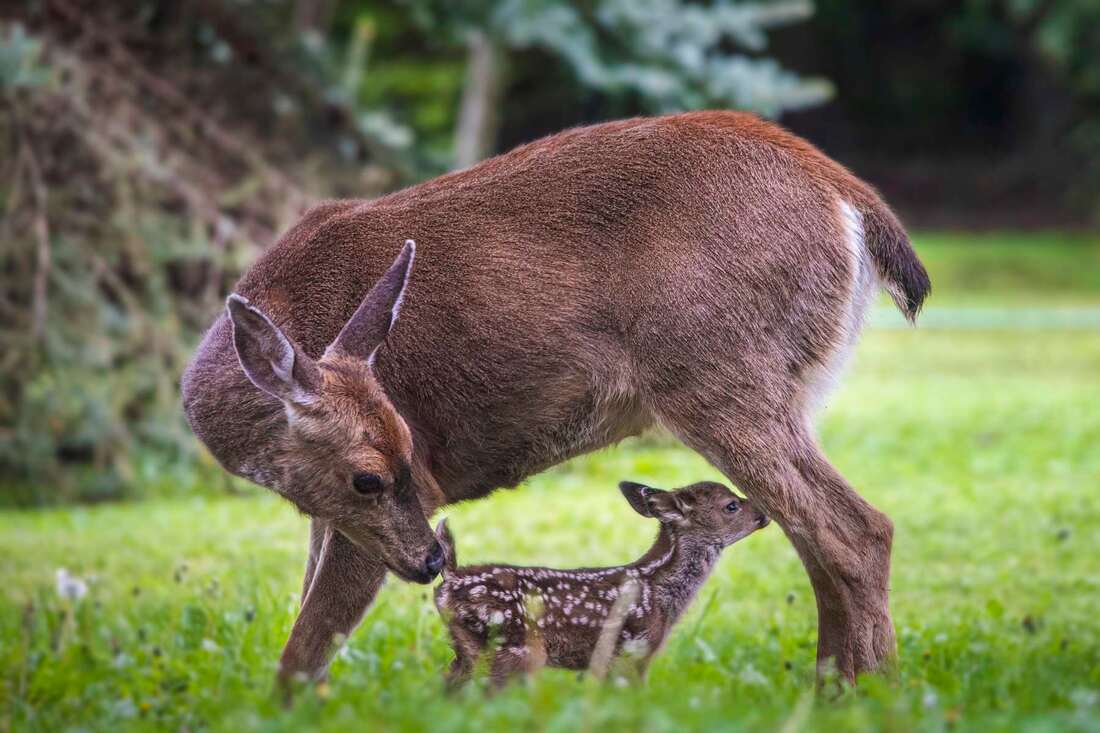
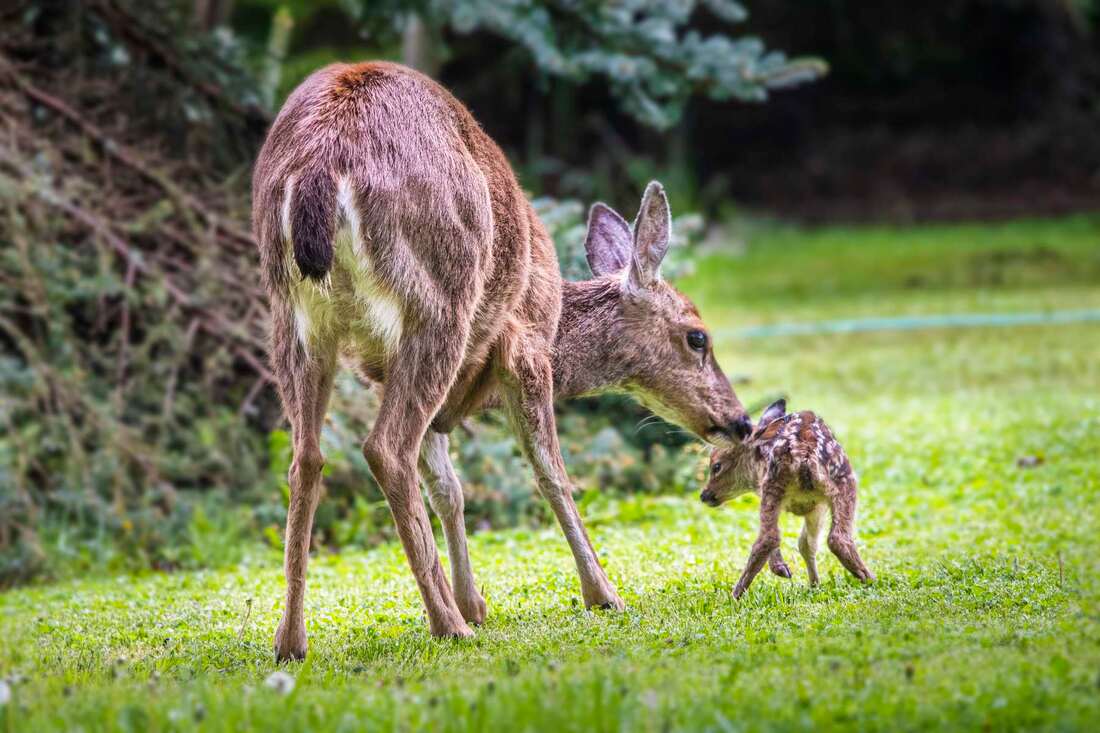
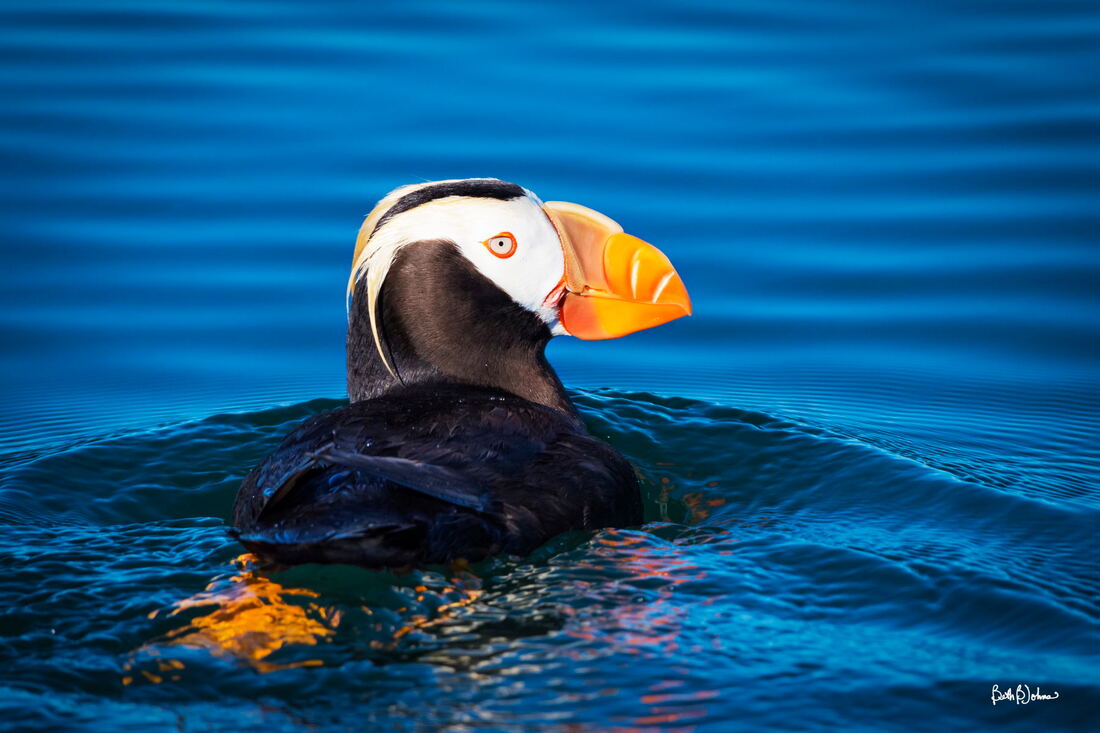
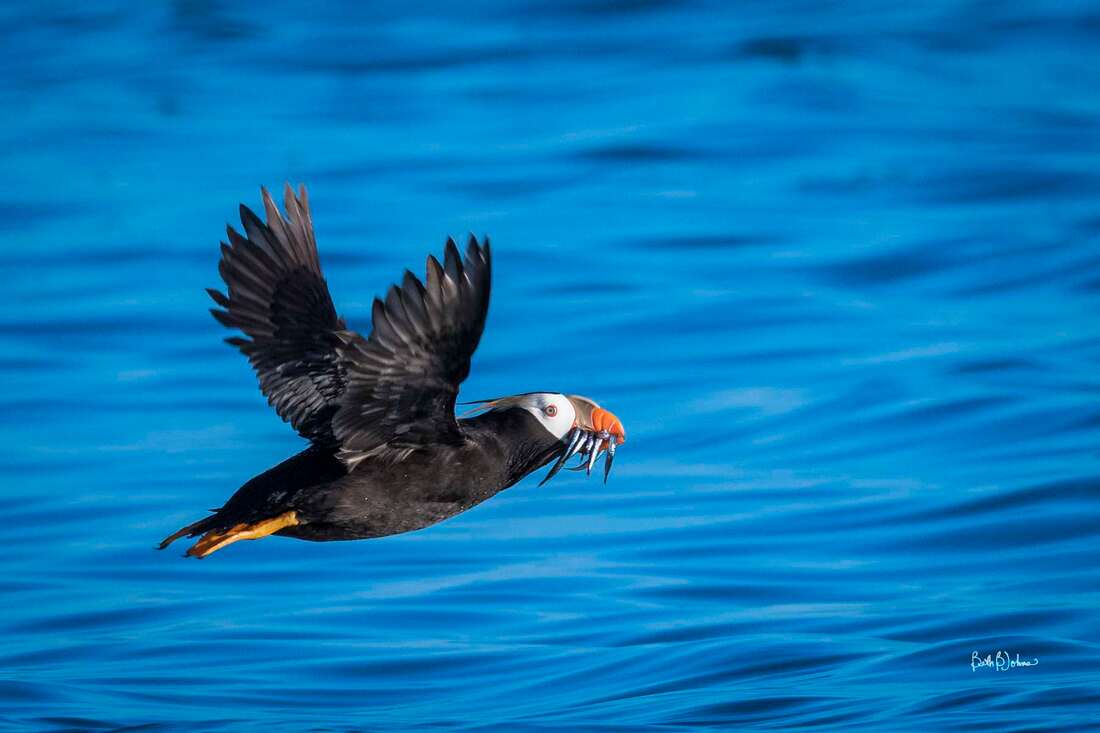
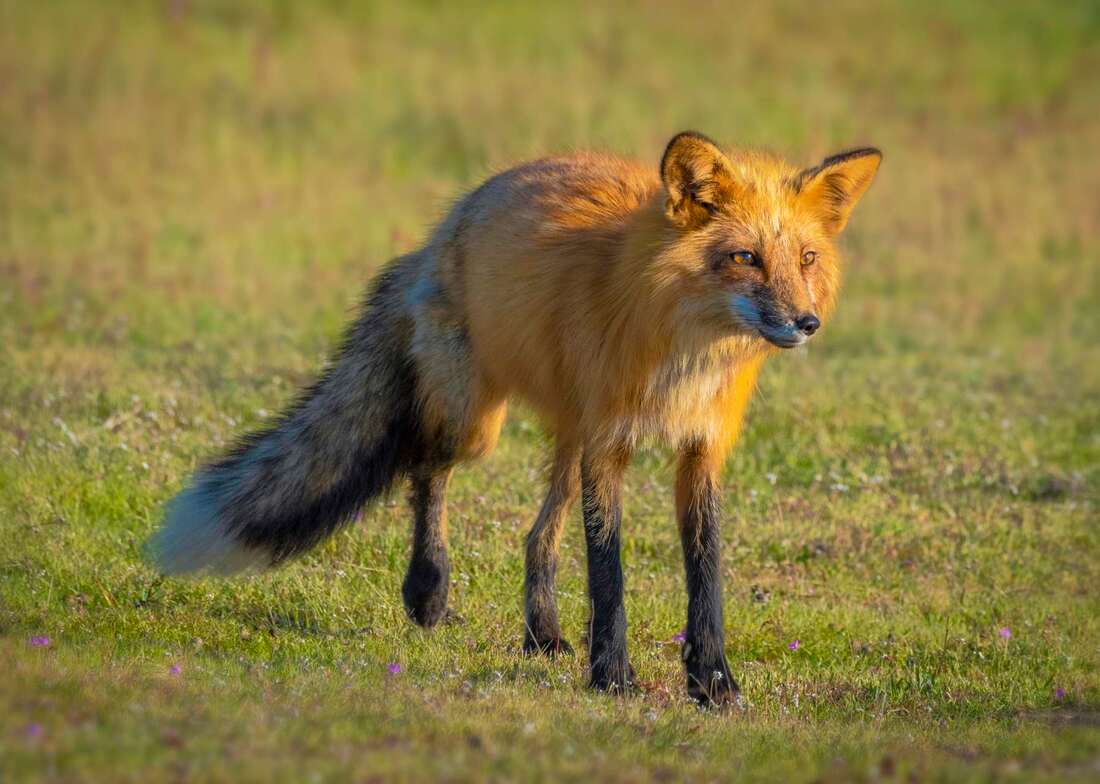
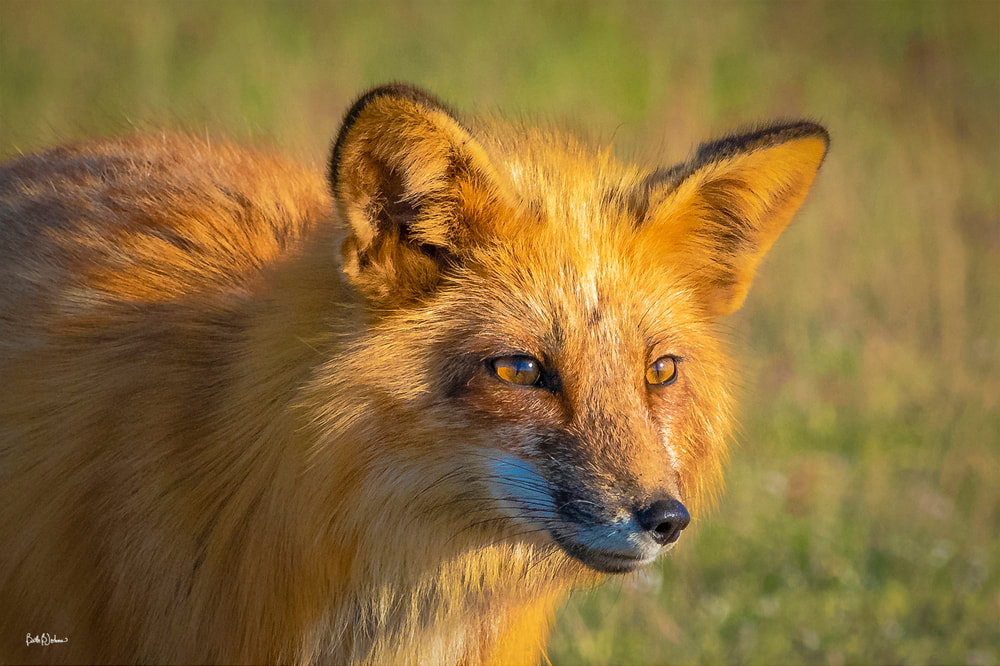
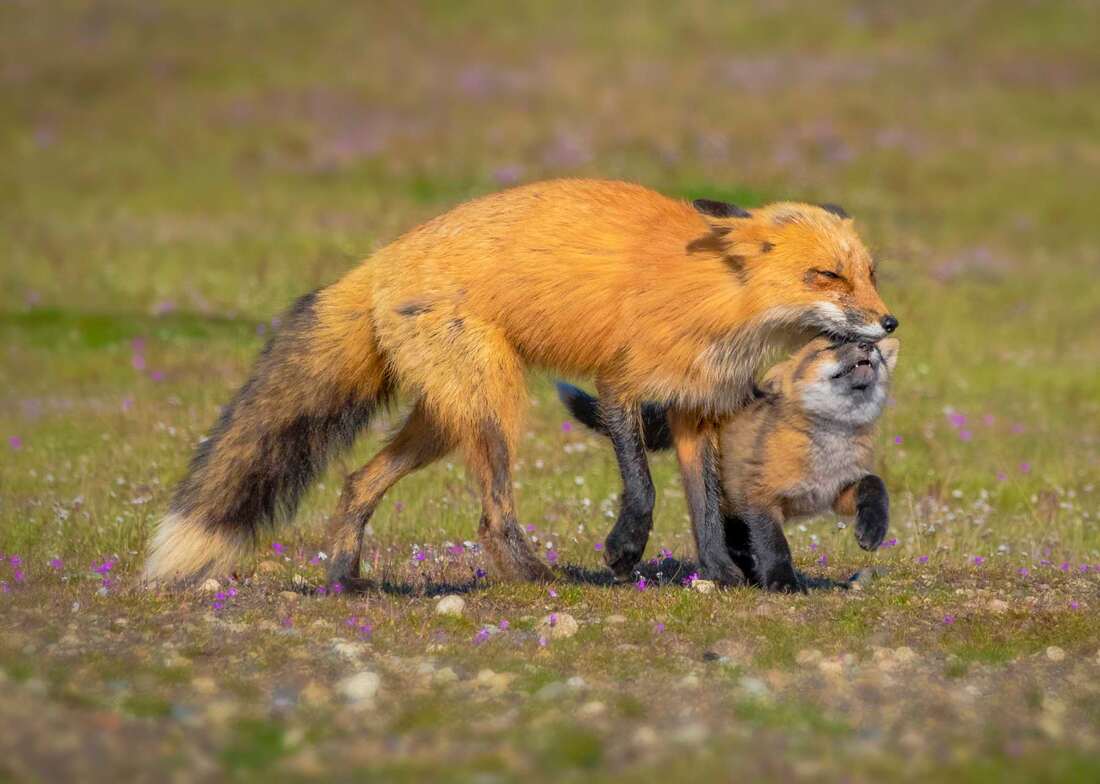
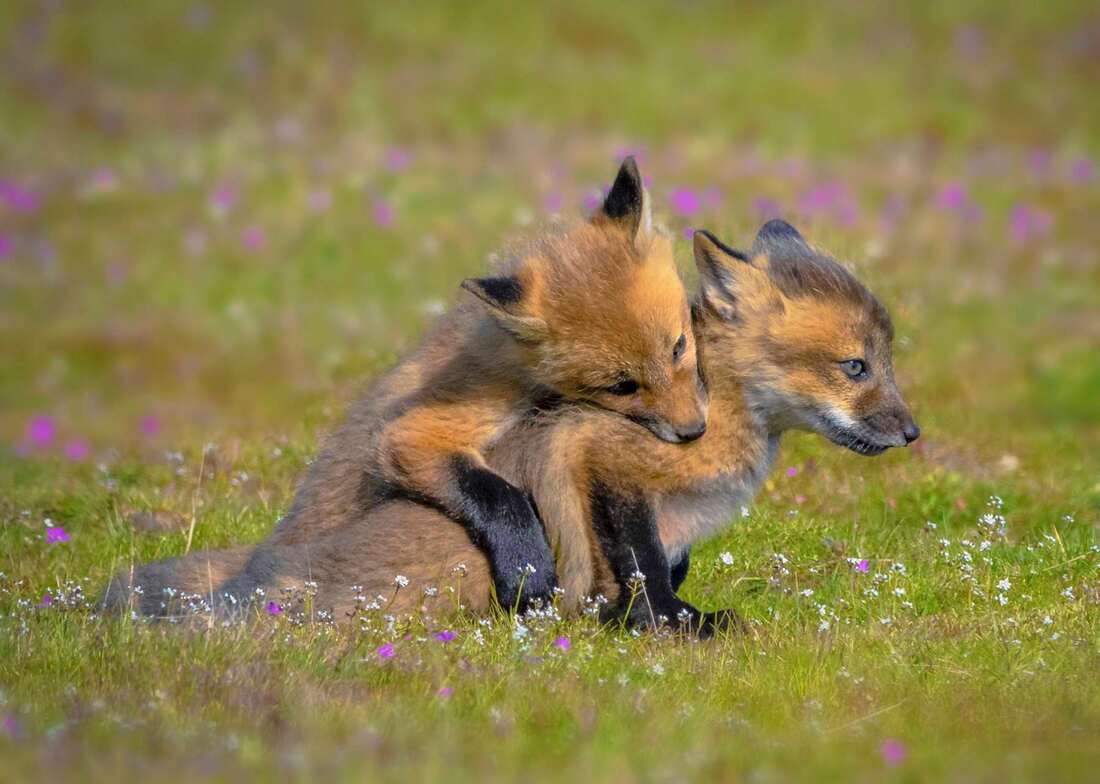
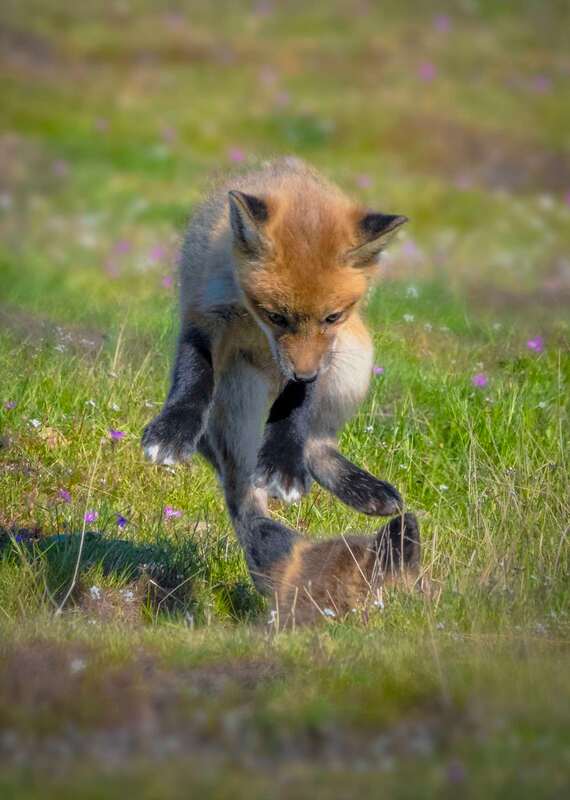
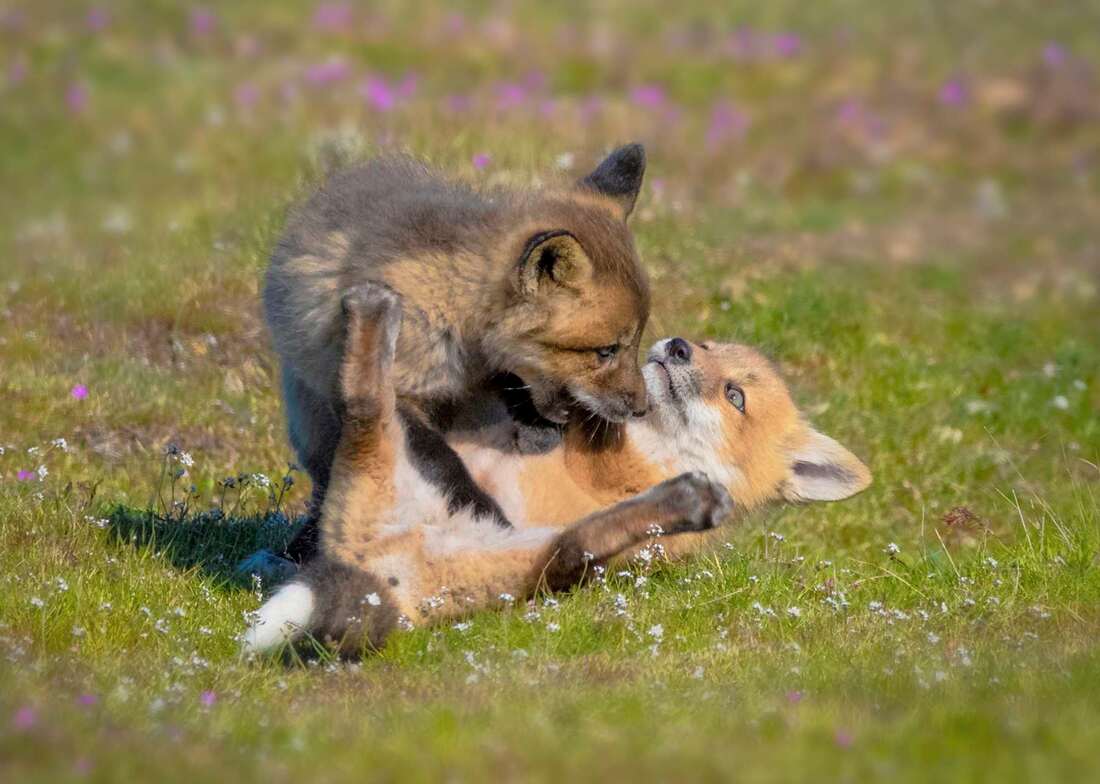
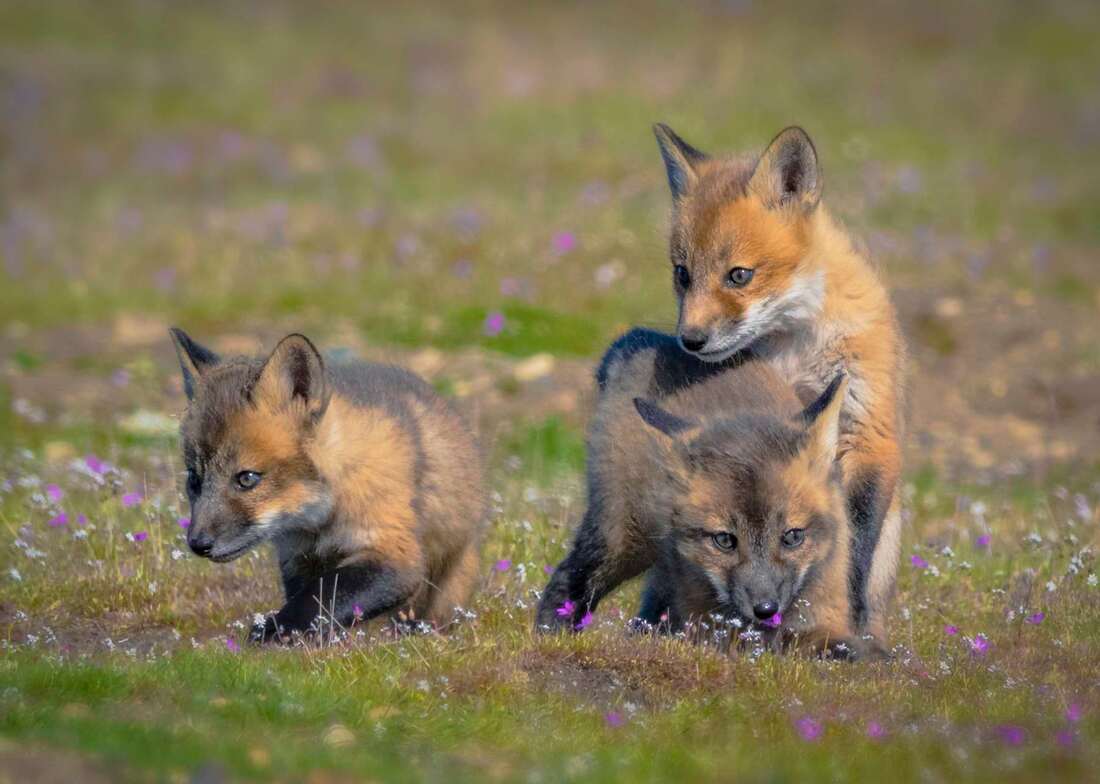
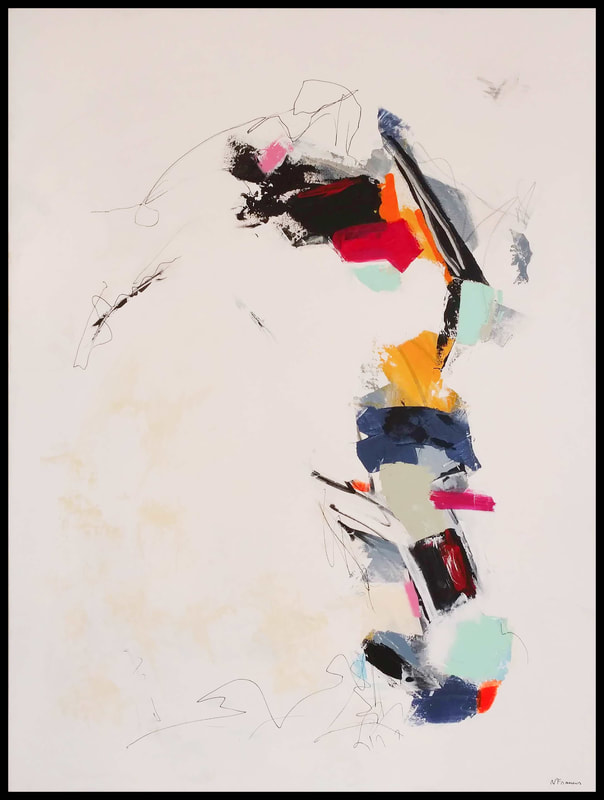
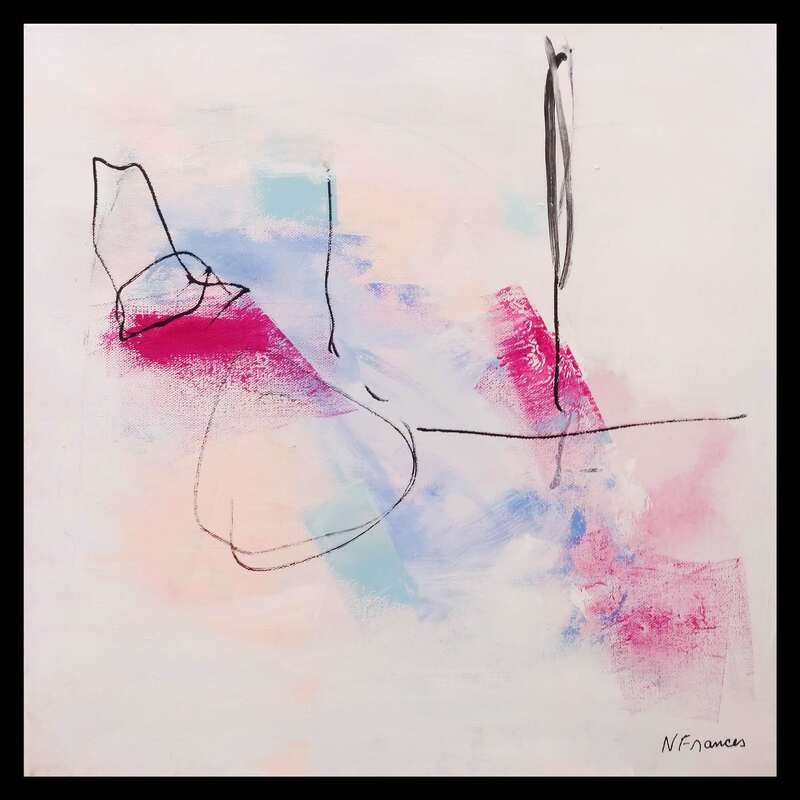
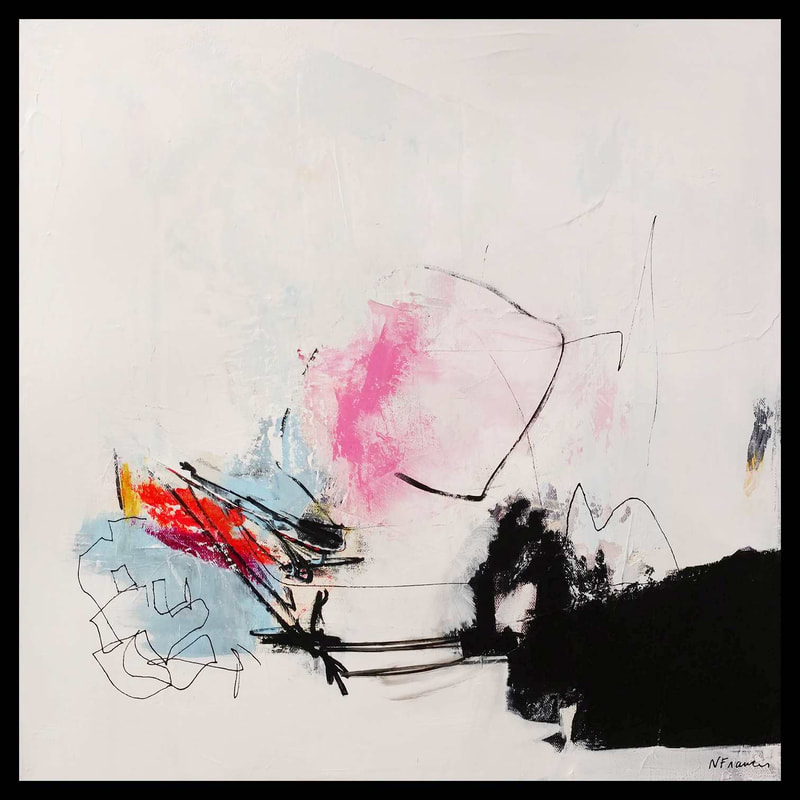
Step 7 I didn't take photos of my work in progress for the Africa pieces, so this image shows the progress on the Arctic piece. To finish the paintings, I brought them and my travel palette to my daily job and worked on them during my lunch hour. I started with basic washes, gradually building up color. Eventually I used blue masking fluid to block off areas I didn't want paint on. I used painter's tape for large areas. Cutting the tape to size and shape by scoring the paper was a challenge. Once I was happy with the color of those areas, I removed the masking and continued by building up layers, colors, and textures in the watercolor. Sometimes I would take a stiff brush and use water to scumble or scrub out highlights. I know that traditional watercolor is about saving the white of the paper, but I used that technique as well as white gouache and acrylic paint to add highlights. The best part was always pulling the tape off the pieces to expose the clean white edge. For the Arctic piece I did a digitally painted one as well. 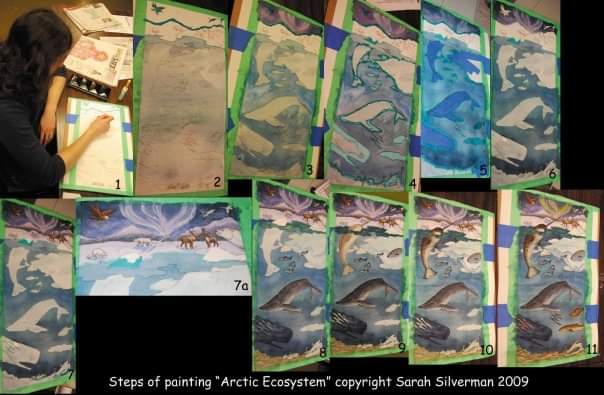 I still use many of these techniques in my other watercolors, though they are much less intensive. I like the clean lines and the negative space of a simple background, which can be seen in my botanical pieces. I'm very inspired by the traditional style of 18th and 19th century naturalists in the way they draw and paint plants and animals. Sometimes I add the scientific name and common name of the species. When I paint plants, I always add a water drop (or a few) since I feel that adds realism. It's also kind of become "my thing." For the lilies, I relied heavily on my reference photo, which was of a 6-foot-tall lily, a volunteer in my husband's garden. I sketched the line art directly on the sheet of watercolor paper and then pressed a kneaded eraser to it to lighten the lines. Then I did a simple loose wash of blue to represent the sky. After that, I built up layers of green for the stems. and leaves, starting lighter first. I also did some scumbling out of the highlights using yellow to add brightness and adding purple and brown to the shadows. At this point it almost looked as though I was painting white lilies. Adding the pink was fun as it's a color I seldom use. Using reds, violets, and bits of brown, I built up the layers and tried to give each petal dimension. Lastly, I scumbled out little circles for the water drops, using white paint for the highlights. 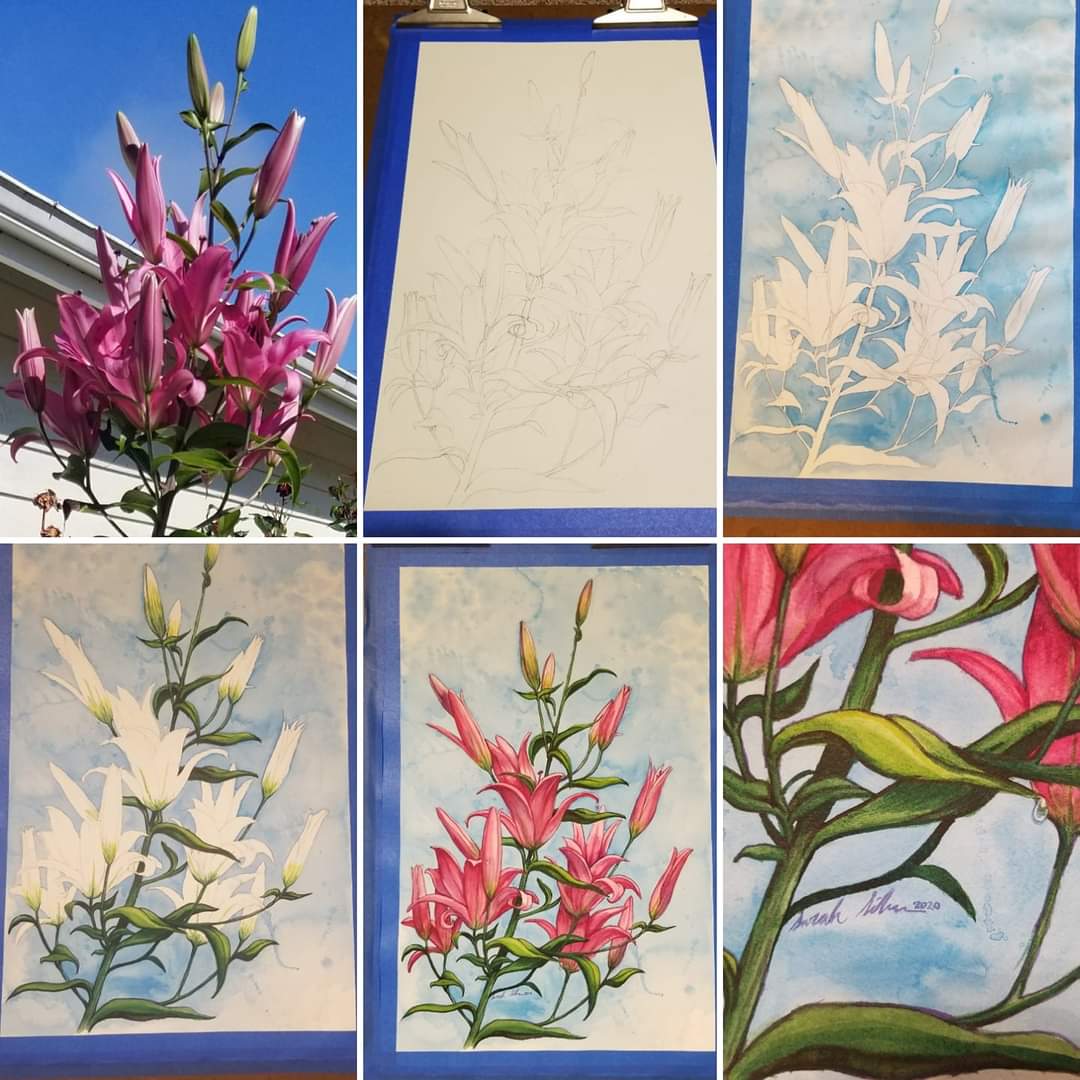 A Photographic Essay by Beth Bridgers Johns Spring is such an enlivening time of year! Observing and photographing wildlife in the Spring is especially fun and heart-warming with animal parents caring for their adorable young. I’m sharing three series of photographs from my springtime experiences on and around Whidbey Island. Newborn Blacktail Fawn This sweet fawn was born on April 28th in my backyard on Whidbey Island and the photographs show its first wobbly steps and the doting care of its beautiful mother. Whidbey has a healthy population of Blacktail Deer, and they add to the sense of tranquility on this wonderful island. These images can be ordered as prints or cards through Artworks Gallery. Tufted Puffins on Smith and Protection Islands Tufted Puffins can be seen in the waters around these islands beginning in June. They come to breed and build their nests in burrows dug up to 5’ deep into the cliffsides. They hatch their eggs and raise their young, teaching them to swim and fish, during the summer. Then they are off to spend the rest of the year living at sea in the Pacific Ocean. The young birds return to land only when they are 3 years old to breed on the nesting cliff where they hatched. “Here’s Looking at You” and “Stretching Wings” are available as 12” x 8” prints on canvas through Artworks Gallery or the online store. The Red Foxes of San Juan Island Decades ago, San Juan Island imported Red Foxes to help control the wild rabbit population on the island. They have thrived due to the abundant food supply and lack of predators. When the kits are born in the spring, they are a joy to behold! The series of 10 images is available as a set of boxed cards. The print “Beautiful Vixen” is available as an 18” x 12” print on metal through Artworks Gallery or the online store. Art enriches reality by elevating our perception and the authenticity of everything on the planet. Art connects us ~ Nancy Frances I’ve been an artist for as long as I can remember. I started drawing in pencil as a very young child. I began painting over 40 years ago. Many people see me as an extrovert, but I love solitude. As an intuitive painter, I delight in making abstract marks. When creating, my aim is to convey a visual language to speak directly to the viewer's heart abstractly with passion, feeling, and respect. I enjoy sharing my point of view and expressing myself, and the way I view the world, through my art. 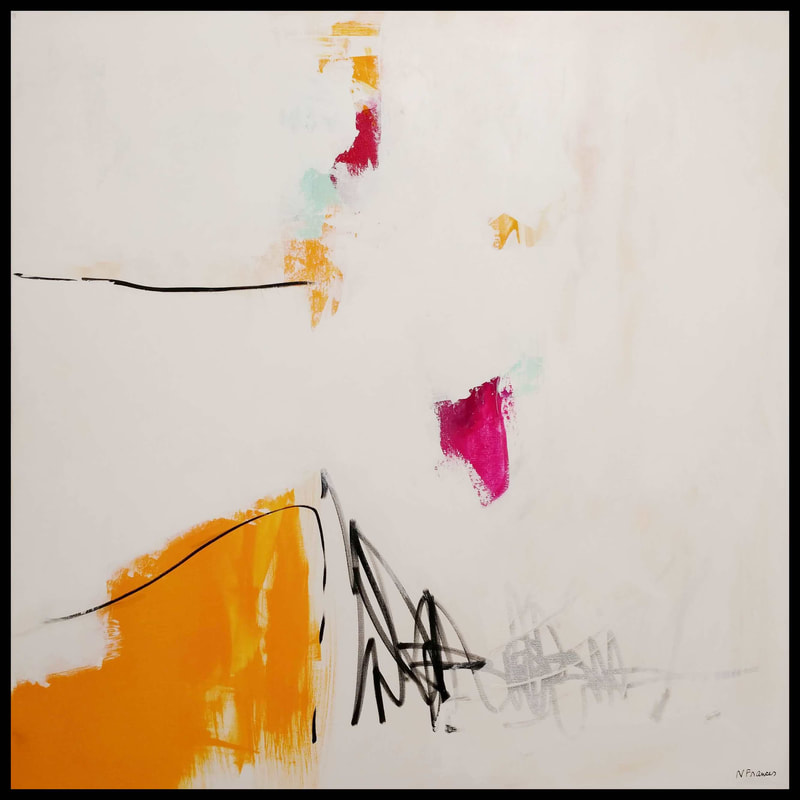 Diversity Series #11 - 36 x 36 in. with float-mount frame - acrylic, ink, and pastel The Diversity series has been the longest-running series of my career. I started the series in the fall of 2017 when our country, it seemed, was falling apart, and tolerance was at an all-time low. Being a daughter of an immigrant father from Sicily, Italy, the series was my attempt to express my personal perspective on the definition and the many nuances of the word "Diversity" using abstract visuals.
Nancy Frances is a working artist who lives in a 100-year-old farmhouse on Whidbey Island. She spends most of her time writing, painting and spending time in her garden. She enjoys working in all mediums, acrylic, watercolor, pastel, graphite, paper, and canvas.
Emails: [email protected] Instagram: @nfrancesart 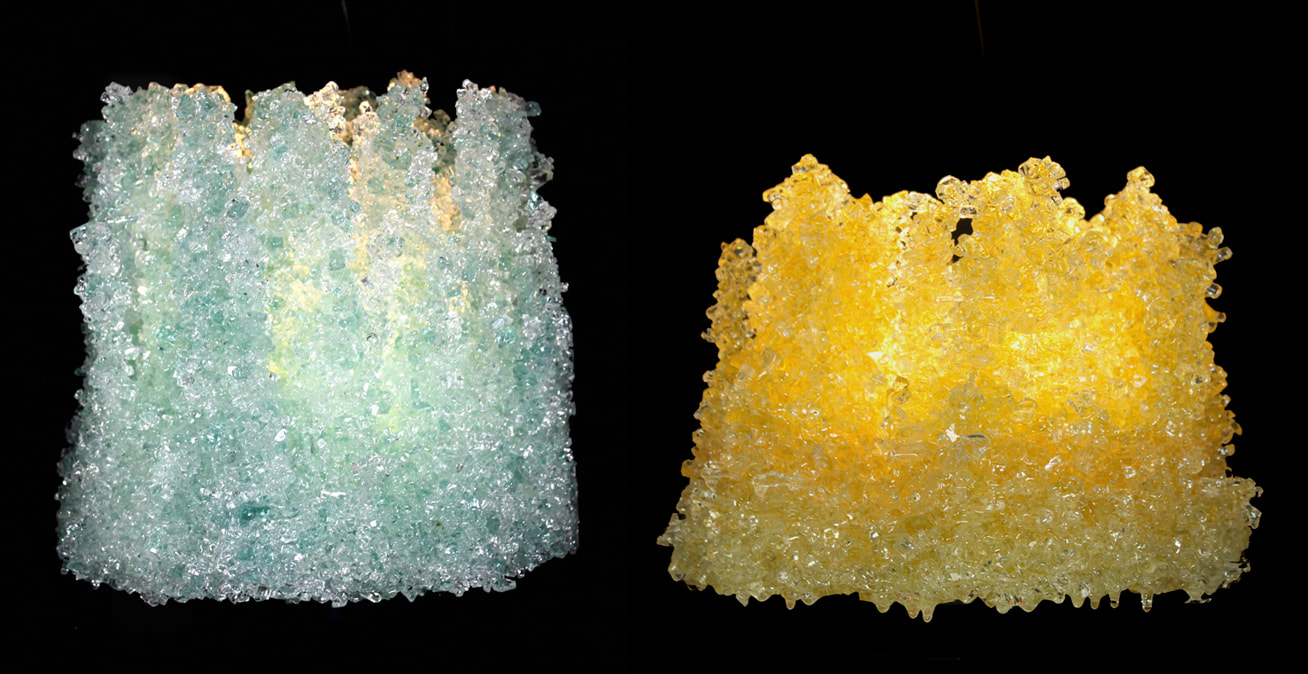 This new glass passion came about by accident! People give me glass windows, shelves, and doors to use as up recycled raw material. A couple of years ago I had a piece of glass that I planned to use to create a bird bath. As I tried to cut the glass, it shattered into tiny bits. This is when I discovered it was tempered glass, also known as safety glass. Tempered glass is made by progressively heating and flash-cooling glass to create inner stresses. This allows the glass, if broken, to break into little pieces rather than long, sharp shards.
As I was sweeping up the shattered pieces, I realized the glass had an amazingly beautiful ice blue/aqua color when the small pieces were grouped together. I knew I had to find a way to use this beautiful substance. Always mindful of the transparent nature of raw glass, I thought a lamp might be the perfect design. However I faced a problem: How could I stick together these tiny glass pieces to form the large piece I imagined? In the kiln, glass starts to adhere to itself when fired to 1200 degrees. The heat softens the surface of the glass in order to fuse it together. In the case of my lamps, fusing the glass in the kiln would make a big blob as the edges softened and rounded. So I started experimenting with alternate “cold fusion” methods to preserve the beautiful crystalline appearance of the shattered glass. I tried various art mediums and glues until I finally settled on an epoxy resin for the best results. The initial process is like the sand candles many of us have made, by using gravity to create the piece upside down. After the glass window or door has been cleaned and shattered, I collect the pieces in a large container. Prepared epoxy resin is then poured into the bucket and gravity takes over, creating various spires and shapes. The size and design of the lamp is influenced by both the preparation and the pouring method of the epoxy into the broken glass. After hardening, the lamp is lifted out of the bucket and its shape is further refined by hand sculpting. After the shape is sculpted and the sharpest pieces are removed, the lamp gets an extra layer of the resin to protect against glass cuts. The larger pieces become lamps and the smaller ones become candle holders. The finished products look like little crystal glaciers. The natural glass color ranges from very pale turquoise to darker blue-green, depending on the manufacturing formula of the original glass. I primarily work with this natural color because it’s so beautiful but can happily make customized colors. The turquoise lamp is the natural color, and the gold lamp has added color. ~ Morgan Bell |
Artworks InspirationsOur artists share their experiences and inspiration with you here. Comments and questions are welcomed! Archives
June 2024
Categories
All
|


 RSS Feed
|
Follow us on Social Media:
Signup for Our Monthly Newsletter:
|
© Copyright 2024 | All Rights Reserved | Artworks Gallery